


 Canada


 Best Seller
 All Printers
 All PDAs
 All Thermal Labels
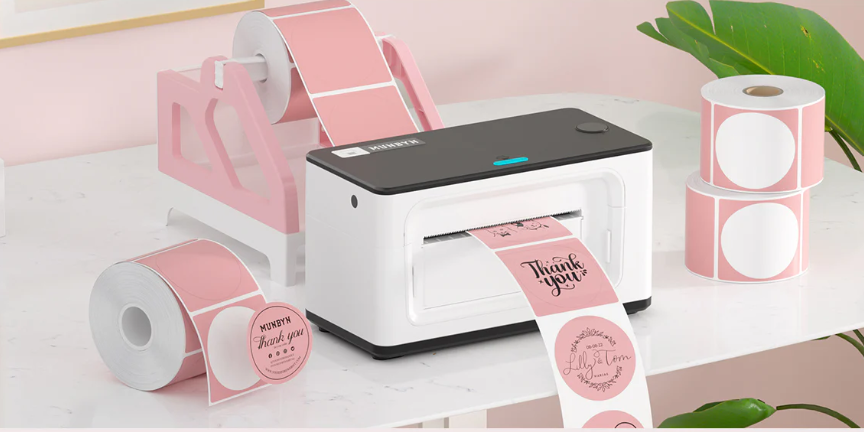
Hello there, creative souls and business dreamers! Have you ever found yourself mesmerized by those shiny, rainbow-reflecting holographic stickers? Whether you’re looking to add a touch of magic to your packaging, spice up your planner, or create custom designs for your art shop, holographic stickers are the ultimate way to stand out. And the best part? You can make them yourself!
In this blog post, we’ll walk you through everything you need to know about how to make holographic stickers. From choosing the right materials to creating the perfect design, you’ll be a sticker-making pro by the end of this article. Let’s dive in!
Why Holographic Stickers?
Before we get into the nitty-gritty of how to make holographic stickers, let’s talk about why holographic stickers are such a hit.
Eye-Catching Appeal: The rainbow shimmer of holographic material grabs attention instantly. Whether you’re selling products, gifting friends, or just expressing yourself, holographic stickers make everything look cooler.
Versatile Usage: They’re perfect for branding, journaling, decorating laptops, water bottles, and more!
Trendy & Fun: Holographic designs are everywhere right now, and for good reason—they’re just so darn pretty!
How to Make Holographic Stickers?

Step 1: Gather Your Tools
To make holographic stickers, you’ll need the right tools and materials. Don’t worry—it’s simpler than you think. Here’s a handy checklist for starting your journey on how to make holographic stickers:
1. Holographic Label Paper
This is the magic ingredient! Holographic label paper is what gives your stickers that gorgeous, reflective shine. At Munbyn, we offer high-quality holographic label paper that’s compatible with most printers. Select from various finishes, such as glossy or matte, to suit your style.
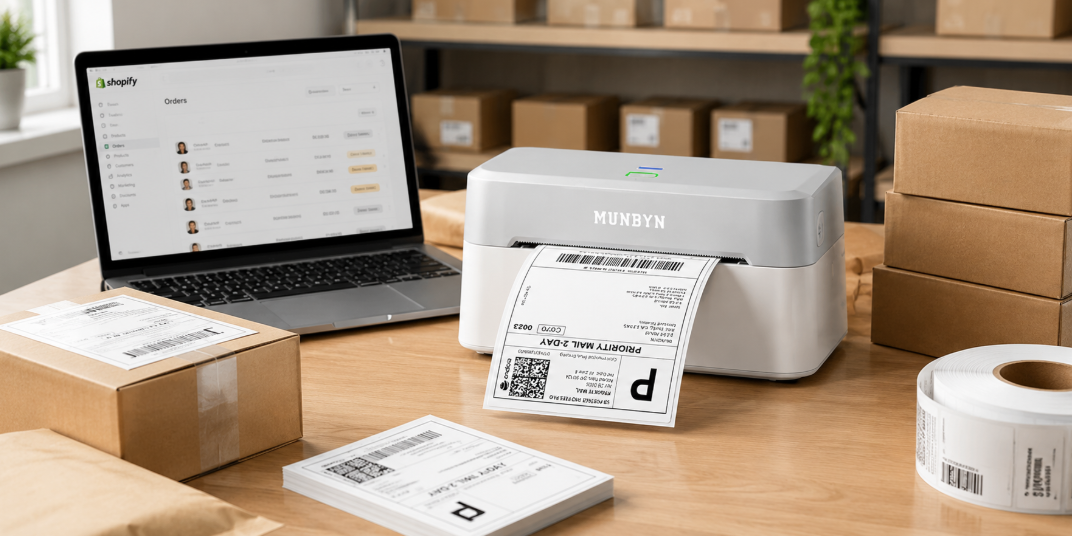
2. A Printer
For printing your designs, you’ll need a reliable printer. We recommend using either inkjet or laser printers, depending on your specific needs.
Pro tip: Make sure your printer is compatible with holographic paper!
3. Design Software
You don’t need to be a professional graphic designer to create amazing stickers. Tools like Canva, Adobe Illustrator, or even free apps like GIMP are great for designing. What’s more, you can choose our Munbyn APP, which is beginner-friendly and packed with templates.
4. Optional: Lamination Sheets
If you want your stickers to be waterproof or extra durable, consider adding a clear laminate layer on top. This step is particularly useful for stickers designed for water bottles or outdoor surfaces.
Step 2: Design Your Stickers
Here comes the fun part—designing your holographic stickers! Here are some tips to help you create designs that pop:
1. Keep It Simple
Holographic material is already eye-catching, so you don’t need overly complicated designs. Minimalist shapes, bold outlines, and clean typography work beautifully.
2. Use Negative Space
One of the coolest things about holographic stickers is how the holographic background shines through. Leave some parts of your design transparent to let the holographic effect take center stage.
3. Choose the Right Colors
Bright, bold colors tend to look amazing on holographic material. Pastels can work too, but make sure they’re saturated enough to stand out against the shiny background.
4. Add Text
If you’re designing stickers for your business, think about incorporating your logo, brand name, or a catchy slogan. Just ensure the text is clear and easy to read!
5. Test Your Design
Before printing a full sheet, print a small test version to see how your design looks on the holographic paper. Adjust as needed.
Step 3: Printing Your Stickers
Now that your design is ready, it’s time to bring it to life! Follow these steps for the best results:
Adjust Printer Settings: Set your printer to the highest quality print setting. If your printer has a setting for “photo paper” or “labels,” use that.
Load the Paper: Insert the holographic label paper into your printer, ensuring it’s loaded correctly—typically with the shiny side facing up.
Print Your Design: Hit that print button and watch the magic happen!
Let It Dry: Allow the ink to fully dry for a few minutes before handling the paper to ensure a smudge-free finish.
Step 4: Peel and Stick!
Congratulations—you’ve just learned how to make holographic stickers! Peel one off and stick it wherever you like. Whether it’s on your laptop, your product packaging, or your journal, your stickers are guaranteed to add a touch of sparkle.
Tips for Business Owners

If you’re a business owner, holographic stickers can be a game-changer for your branding. Here’s how to make the most of them:
- Custom Packaging: Enhance your packaging by using holographic stickers to seal your parcels or add a stylish, branded touch to your products.
- Promos and Giveaways: Include a few stickers as freebies with every order. Customers LOVE this!
- Seasonal Designs: Create limited-edition sticker designs for holidays or special events to keep things fresh.
Let’s Get Crafty!
Making your holographic stickers is not only fun but also a fantastic way to express your creativity and elevate your brand. Whether you’re a business owner or a sticker enthusiast, the possibilities are endless.
Ready to get started? Discover our holographic label paper and printer to find everything you need. We can’t wait to see what you create—be sure to tag us on social media with your holographic masterpieces!
FAQs
1. Can I use any printer to make holographic stickers?
Great question! Most inkjet and laser printers can handle holographic label paper, but it’s important to check your printer’s specifications. Inkjet printers generally work better for vibrant, colorful designs, while laser printers are great for sharp, detailed prints.
2. Are holographic stickers waterproof?
Holographic stickers are naturally moisture-resistant, but they are not fully waterproof. If you want your stickers to withstand water (such as for use on water bottles or outdoors), we recommend applying a clear laminate sheet on top. This not only makes them waterproof but also adds extra durability and a professional finish.
3. Can I sell the holographic stickers I make?
Absolutely! Many of our customers are small business owners or artists who create and sell custom stickers. Just ensure you’re using designs that you own or have permission to use. Selling holographic stickers is a fantastic way to showcase your creativity and add a unique product to your shop. Plus, customers LOVE shiny things—your stickers are bound to be a hit!

Share:
How to Make Temporary Tattoos Last Longer?
Can Thermal Printers Print Color? Let’s Unravel the Mystery!