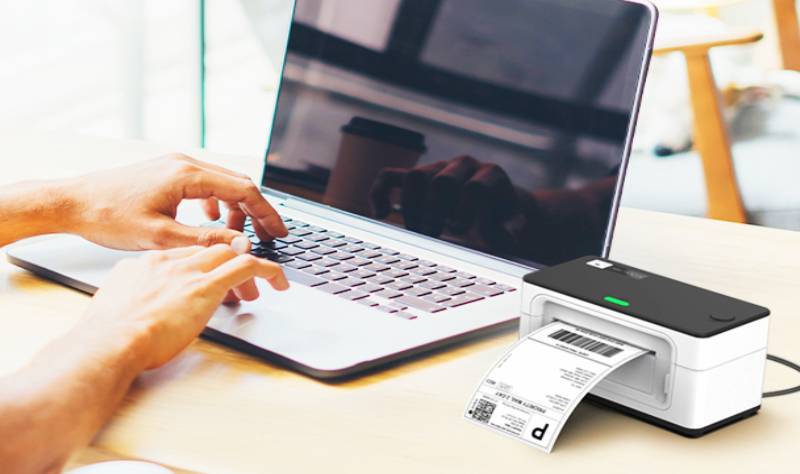
Being a Shopify online seller is not as easy as it might look at first. There are many key indicators that require constant attention – Customer’s changing demands, stock-levels, Logistics providers and freight rates, etc. Not to mention that, even if you already found a shipping carrier worth entrusting, you still need to figure out how to proceed the online order efficiently, and print the shipping labels.
Money is a tremendous concern when we starting a business. Businesses cost money, and in most cases.
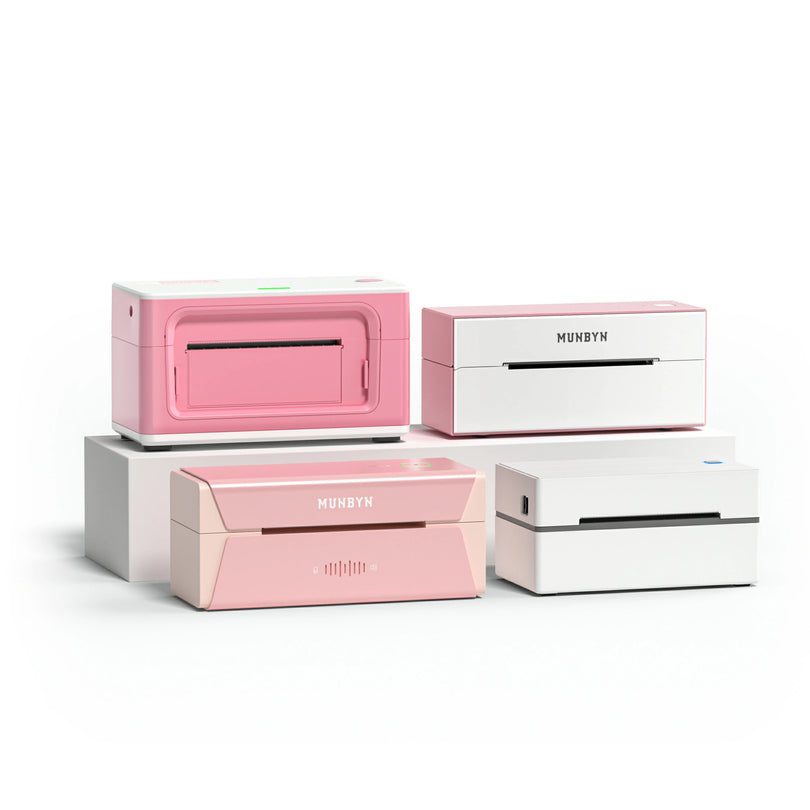
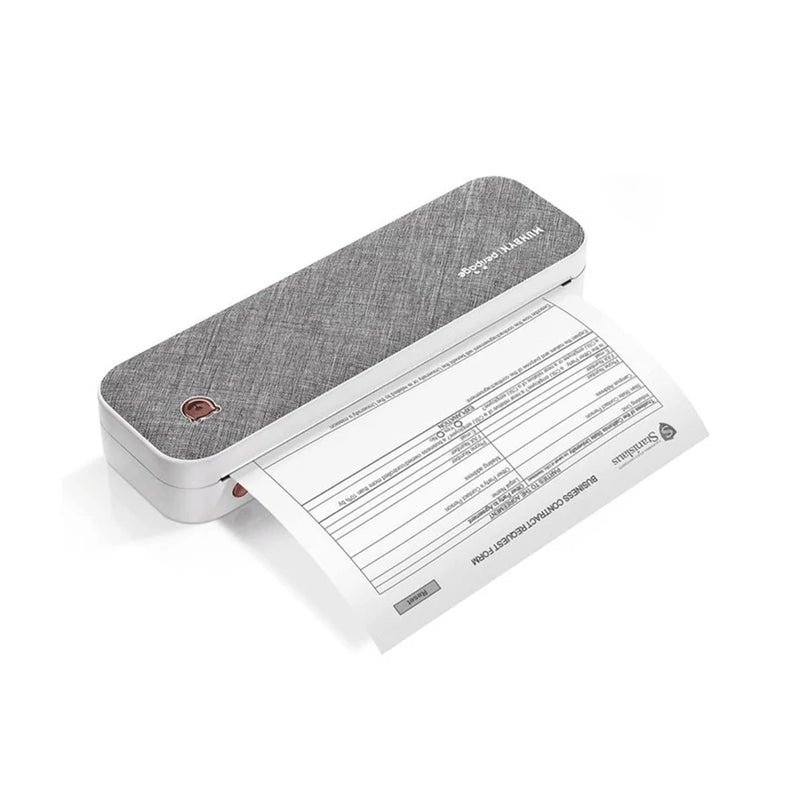
Equipping with a suitable shipping label printer can avoid time-consuming trips to the Post Office and enable you to buy and print postage using your own computer and printer. Print out some great ideas, you can save more.
To facilitate your decision, we narrowed down all the available information into this article. Here you will find the things you need on shipping for online orders.

How can a thermal shipping printer benefit your business?
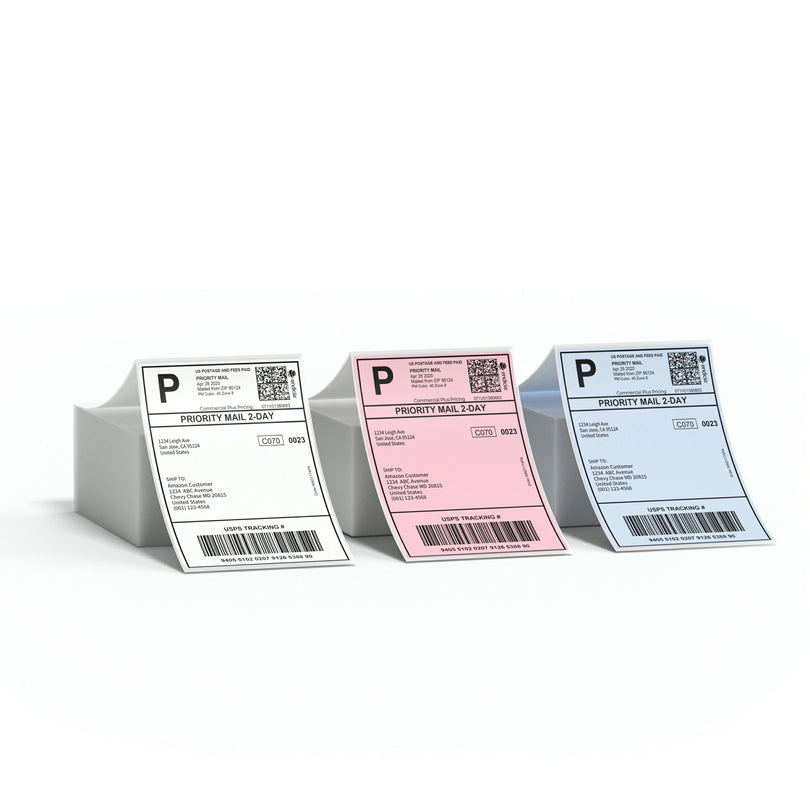
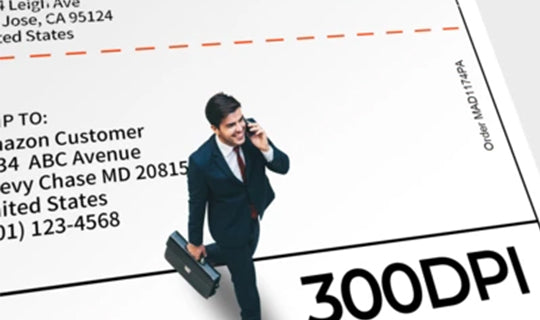
Print Shipping Labels
Reduce Printing Costs. Thermal printers are inkless, using heat to react with the paper to create images, forgoing ribbons or cartridges in the process. Without the need for these consumables, lots of costs on supplies would be saved. The only consumable needed for thermal printing is label paper.
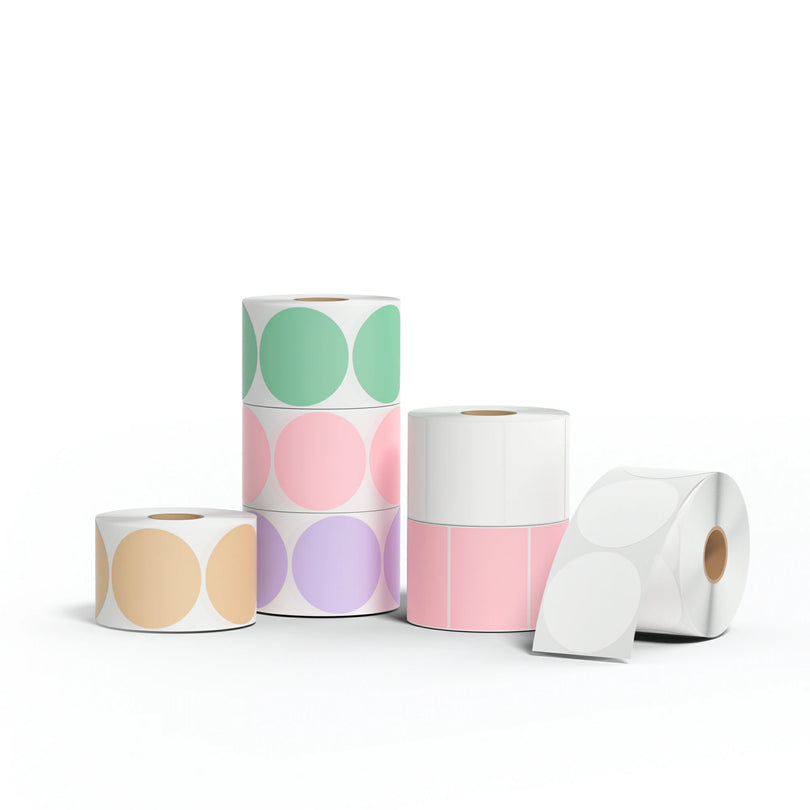
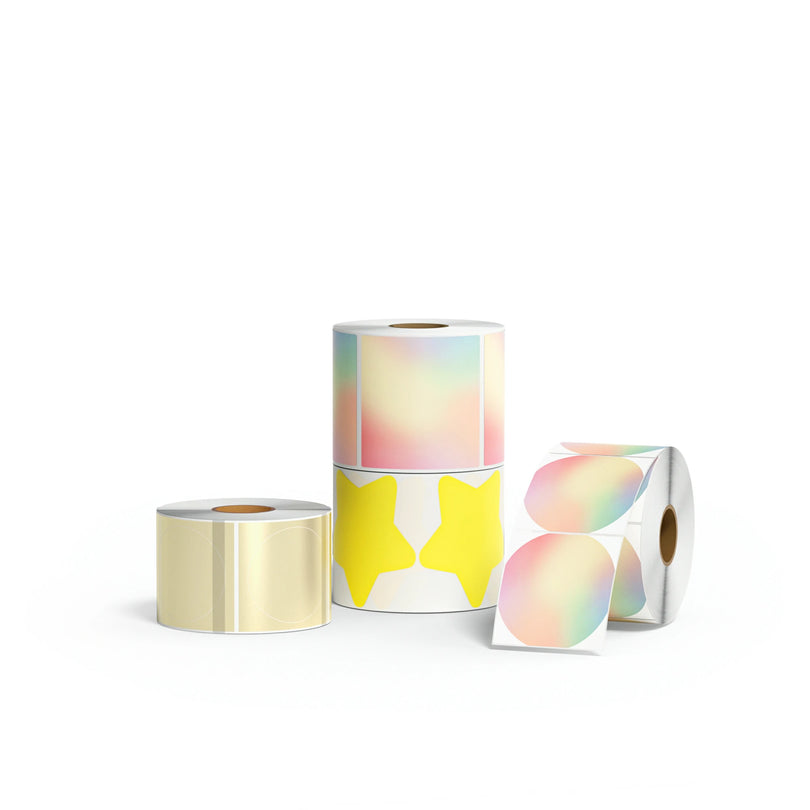
Print Brand Packaging Sticker
Brand stickers can be a great way to publicize and differentiate your products. Creating your own custom die-cut stickers with your company logo makes your products more professional and beautiful. With hundreds of competing vendors, brand stickers can help your brand stand out.
Buying custom stickers from a vendor can be expensive to buy though.
HOW TO CREATE CUSTOM PACKAGING STICKERS WITH A MUNBYN ITPP941
Step 1: Head to your favorite photo editor. For this tutorial, I’m using Photoshop.
Step 2: Set your canvas size to 4 inches by 6 inches (1500 pixels by 1000 pixels for vertical layout or 1000 pixels by 1500 pixels for horizontal layout).
Step 3: Create your design. When creating, remember that the Munbyn ITPP941 only prints in black. I used the Berrylicious font to create my sticker.

Step 4: Once you’ve designed your sticker, save it to your computer using the ‘Export’ button. Then, print it!
Hope you love this idea and enjoy your printing.

